Most concrete countertops are processed using diamond discs. Two common looks are exposed aggregate and a “salt-and-pepper” look. Exposing aggregates requires very coarse discs, often metal bond cup wheels. The salt-and-pepper look has just the sand particles exposed.
Here is an example of an exposed aggregate countertop. It also has metal embedments.
![]()
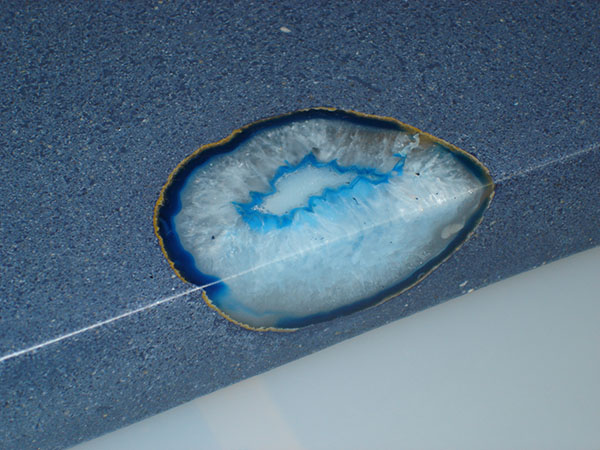
Here is an example of a salt-and-pepper look. You can see that the blue concrete is ground enough to expose the sand grains, giving it a speckled look. It also has a large, dramatic embedment of a geode.
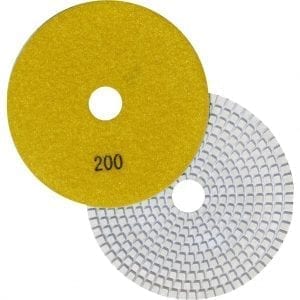
Regardless of the first grit that was used, processing always follows a progression of finer and finer grits. At some point the 200 grit is reached. In some instances this could be the very first grit used on the concrete (when only a very light honing is required).
The 200 grit disc is a special grit and represents an important point in the processing stage of a concrete countertop. Here are the stages:
- A very coarse metal bond cup wheel removes a great deal of material very fast, exposing the aggregate. But it leaves an uneven, gouged surface suitable only for sidewalks.
- Most often a coarse resin bond disc (often 50 grit) is used to flatten the surface and remove the gouges from the cup wheel.
- Next a 100 grit disc further refines the surface, removing the visible scratches left from the 50 grit.
- Finally the 200 grit removes the visible scratches left from the 100 grit.
In fact each finer grit simply refines the surface and removes the scratches left by the previous, next-coarser disc. This is true of the 100 grit, and it’s true of the 3000 grit disc.
But the 200 grit disc is special because it represents a point in the production stage in a concrete countertop where many things can happen:
- Grouting is performed after the surface is honed to a 200 grit finish.
- Chemical densifiers are applied to a 200 grit finish (if polishing is going to occur).
- Most importantly, nearly all coatings are applied to a 200 grit finish.
Grouting occurs at the 200 grit stage for a practical reason. Most 100 grit pads leave small tool marks (multiple crescent-shaped scratches) that are hard to see when the concrete is unfinished, but when filled with grout they often show up after sealing. This is not acceptable to clients.
On the other hand, good quality 200 grit pads do leave minor swirl marks, but these are not deep enough to be filled with grout, so therefore don’t show after sealing.
In addition, hardened grout is removed with a 200 grit pad. If grout was removed with a 100 grit pad, not only would the surface have 100 grit scratches in it, the coarser pad is too aggressive and will cut deeper into the concrete and expose more pinholes, requiring further grouting.
A 400 grit pad may not be aggressive enough to efficiently remove the hardened grout in a reasonable amount of time, and the smoother finish may prevent a coating-type sealer from sticking (more on that later).
A concrete surface honed to a 200 grit finish is satin-smooth to the touch but looks nearly dead-flat in sheen. If the concrete is to be polished, densifiers are applied at the 200 grit stage (after grouting) so that the cement paste can be hardened and polished along with the sand and aggregate.
Chemical densifiers (especially the popular lithium based ones) leave a micro-thin, hard, transparent deposit that helps to fill in the micro-texture left by the 200 grit pad. Generally polishing begins at the 400 grit stage, when very little material is removed. Having the surface already densified before polishing begins makes the process more efficient and results in a better looking surface.
Because a 200 grit surface has a very slight micro-profile, it’s perfect for applying coatings. Most coatings rely on a mechanical bond to adhere to the concrete. Very smooth surfaces don’t allow a good bond, so coatings are at risk of peeling.
Also, nearly all coatings leave a thin film of material that completely obscures the smooth profile of a polished surface. Even if the coating would form a reliable bond it’s a complete waste of time to polish at all. You simply cannot tell the difference between concrete honed to 200 grit and concrete polished to 3000 grit after they have been sealed with a coating.
So remember, if you’re using a coating sealer, stop polishing at 200 grit. Going any further is a waste of time and could compromise the sealer’s adhesion.
Buy diamond pads of 50, 100, 200 and higher grits here.