Sometimes the easiest creative accent makes the most impact, resulting in a simple but stunning piece.
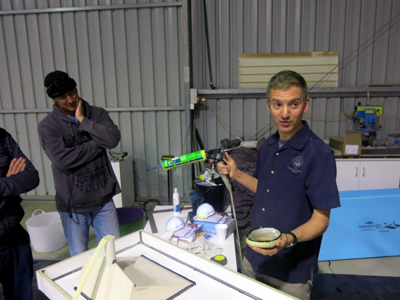
Case in point: A project we did in an Ultimate class in 2014 in Western Australia.
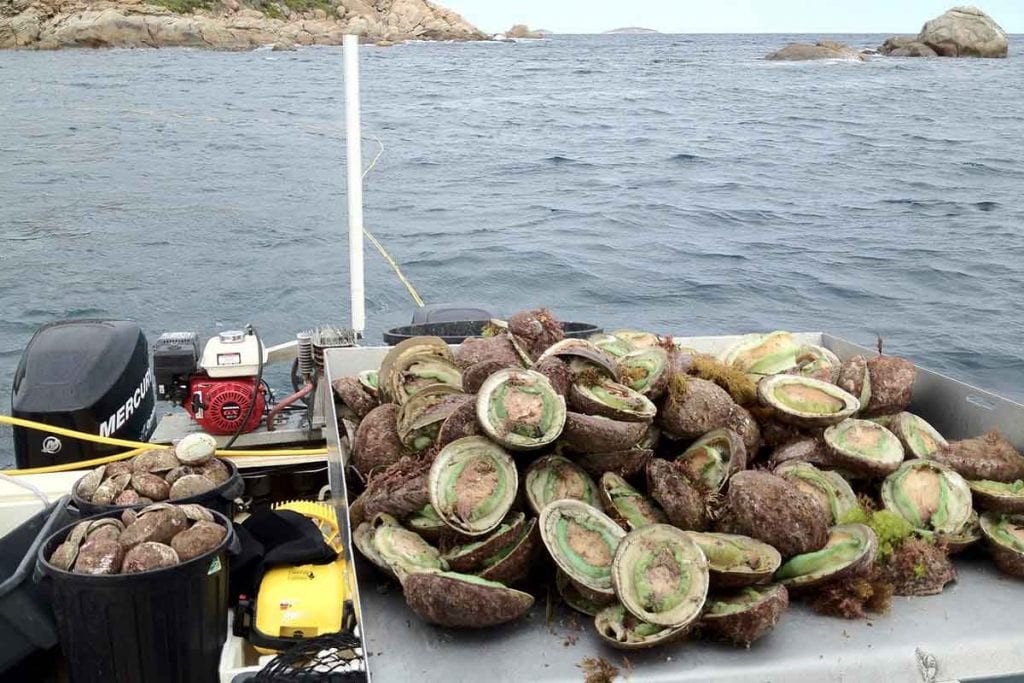
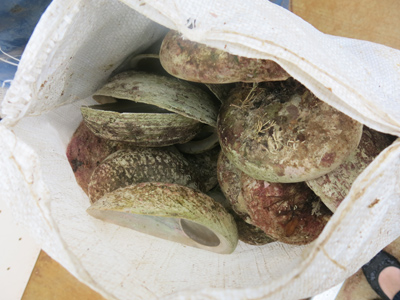
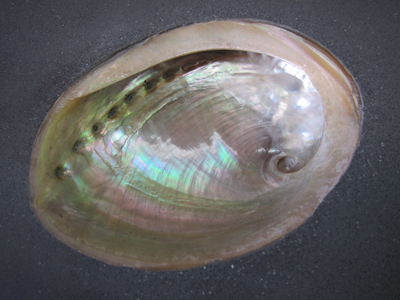
I was teaching in the beach town of Esperance, and I happened to meet a local abalone diver who asked if abalone shells could be embedded in concrete. My answer was, “Absolutely! Do you have any shells I could use?” I expected to get a few scraps, but he provided an entire sack of gorgeous, perfect, whole shells from green abalone!

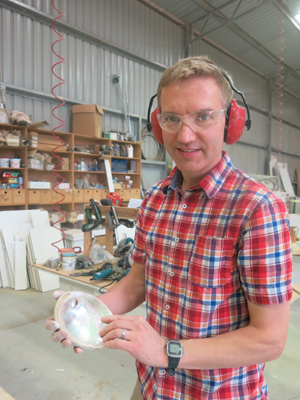
I wish I could have used them all, and I very much wish I could have brought them back to the U.S. I considered breaking some up to create patterns of mother of pearl. Then I thought of embedding a whole shell to create a soap dish in the ramp sink I planned to make for class. I was also going to use broken pieces to radiate out from the soap dish, but I decided that simpler was better. The beauty of the shell itself was simply stunning. However, I needed to clean it up first, and make sure it was flat.
I started by scuffing off the seaweed and barnacles with a small grinder.
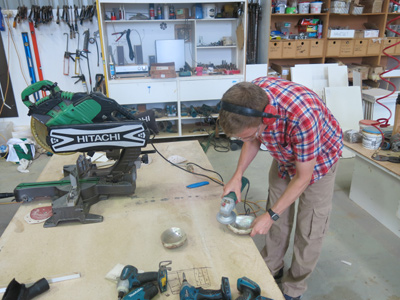
Then I used the grinder to flatten the mouth of the shell. It took a lot of small adjustments and constant checking, but finally the shell was flat so that it could be embedded almost perfectly flush in the concrete.
To embed objects, you generally simply glue them to the bottom of the form. However, since I wanted to make sure no concrete leaked into the shell, I caulked around it with silicone caulk, and that served as the glue and also formed a bit of a gasket to seal the parts that weren’t quite flat. When you’re using silicone to apply a large, hollow embedment like this, you need to take care of some details:
- Mask the top exposed edge with tape, so that the silicone will not stick to the shell. Any kind of tape is fine, such as household masking tape.
- Wax the tape, and then apply the silicone to the tape. This ensures that the silicone won’t stick to the tape, it will only secure the shell to the mold.
- Apply the shell to the surface, pressing to squeeze out excess silicone.
- Use a razor held vertically around the outer edge of the shell to make sure that the silicone follows the contour of the shell and does not form a roundover. This will ensure a crisp line around the shell, with no channel surrounding the shell.
Now the GFRC mist and backer coats could be applied as usual. We didn’t need to worry about getting mist coat on the back of the shell, since it wouldn’t show. We did need to make sure that we placed backer over the shell to provide firm support for it.
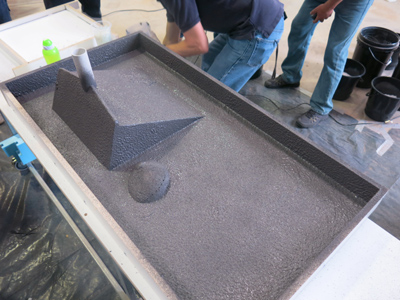
Mist coat applied to mold
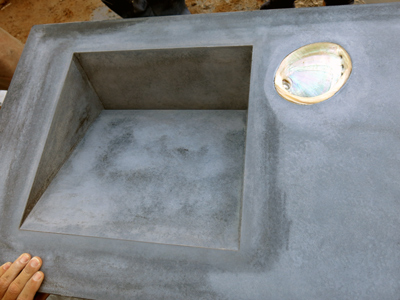
Here is the vanity after removing it from the mold. The GFRC polymer forms a residue that needs to be honed off.
Here it is after honing.
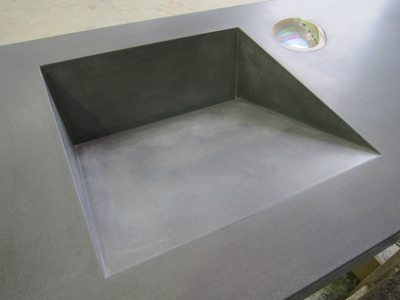
I taped up the edge and inside of the shell before spraying on sealer, the final step to finish this beautiful integral ramp sink vanity.
As you can see, this one embedment, while it required some preparation and thought, was a very simple and elegant way to turn a somewhat ordinary piece of concrete into something stunning.
About Abalone
Here are Western Australian green abalone before they are removed from their shells.
If you’re curious about abalone, check out http://en.wikipedia.org/wiki/Abalone for more information. In Western Australia, even professional abalone divers are legally required to free-dive, not use scuba equipment!