You know that templating and then forming are basic steps in concrete countertop making. But have you thought about the very important, but often neglected, step of slab layout? Slab layout should be carefully considered, first on a practical level and then on an aesthetic level.
The first step in slab layout is to determine the maximum length of slab that you can get into the house or space. Note during templating whether there is a tight corner you’ll have to carry the slabs around, or a narrow staircase you’ll need to climb. Although you may have the technical ability to make 20-foot long slabs (at least from GFRC), if you can’t physically get the slabs into the house, it doesn’t do you any good. (We’re talking precast here, of course. You could go the cast in place route depending on the look desired and the site conditions.)
Let’s say you’ve determined that the maximum length of slab for a kitchen countertop you’ve templated is 8 feet. At your shop, lay out all the templates on casting tables, right side up, as close as possible to the actual layout of the kitchen.
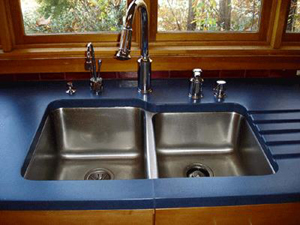
You will usually need a seam at the kitchen sink. Kitchen sinks tend to be placed in long, straight runs of countertops, which may exceed your maximum slab length. Usually the easiest way to seam a kitchen sink is to make one short seam in the center of the sink, lined up with the cabinet seam.
Try to keep adjacent slab sections similar in size, rather than having one long piece abutting a very short piece. This looks odd and unbalanced.
If a slab must be “L” shaped in order to turn a corner without excess seams, the longest practical length for the shorter leg of the “L” is usually about 5 feet (measured on the outside of the L).
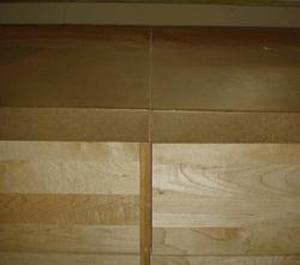
Other than these general rules of thumb, most of slab layout is aesthetics. Pay careful attention to the cabinet seams (defined by the center of cabinet doors, or the line between two cabinets). Nothing looks worse than a countertop seam 1″ off from a cabinet seam, or worse, a few millimeters.
Also think about how the client will view the countertops in the room. Is one section visible from the main door into the kitchen, and usually spotlighted in a ray of sun? Then maybe it’s worth a little extra effort to avoid a seam right in the middle of that section, since the client will see it every time she walks into the room.
Once you’ve determined where you think the seams should go, draw the seams on a kitchen plan and have the client sign her consent. That way there will be no misunderstandings or disappointments later. Many clients get extremely emotional about every little detail of their kitchens. A decision that seemed like no big deal to you can seem like the end of the world (and the end of your profits) to a client.
Once the seam layout is finalized, draw the seams on the templates and cut them with kerfless shears. These cut templates will be what you form around. And since you’ve taken the time to create a carefully considered seam layout, you know your forms will create the perfectly sized and fitted countertops for your client. And a perfect product means a happy client!


