The Quest for a Pinhole-Free Concrete Countertop Surface
Pinholes are aggravating. These tiny holes in the concrete surface are formed by air bubbles trapped in the concrete. Bubbles become pinholes when they form on the surface of the concrete during casting or when the concrete is ground or honed, and doing so takes off the thin cream layer and exposes the tiny holes underneath.
When creating something like a kitchen countertop, pinholes are especially undesirable because they can allow food residue to collect inside and develop bacteria.
In a traditional wet cast concrete mix, vibrating the mix might get rid of them. In a sprayed GFRC mist coat, the energy of spraying might eliminate all air and prevent pinholes. In a pourable GFRC mix, it might be dense enough to be pinhole-free. (A defoamer such as UltraDense helps a lot, both inside the concrete and on the surface.)
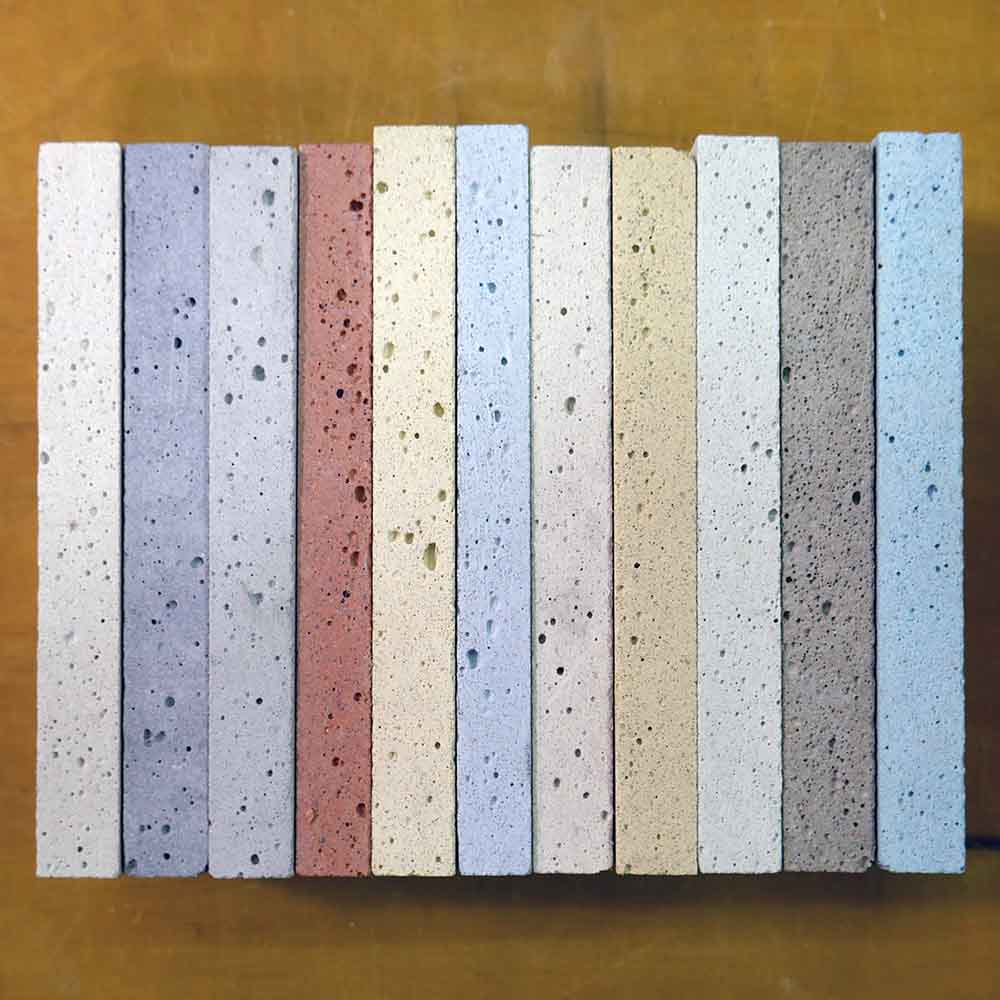
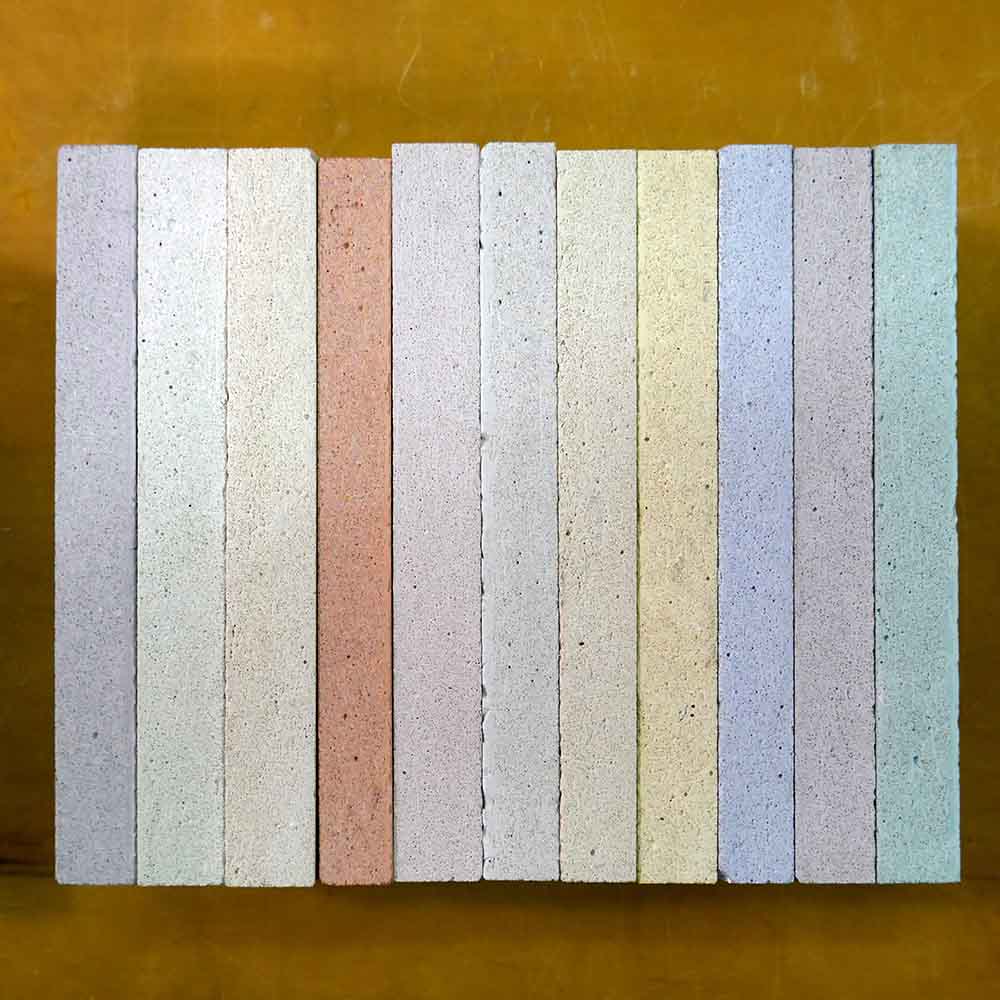
- Foamy concrete made without defoamer
- Dense concrete made with the exact same mix design except Integrity UltraDense was added
However, the key word in all the above sentences is might. Sometimes, you are left with that one pinhole, staring you in the face. Recasting is an extreme measure. What if there were an easy way to fill in that pinhole?
There is. It’s called grout. (I call it grout, many people call it slurry, and Buddy Rhodes calls it paste and is a master of manipulating it into works of art. But more on that later.)
Grout Recipe
Grout at its most basic is concrete taken to the extreme – just cement and water, hold the sand and aggregate, please. In reality, you need to use another important ingredient to make grout practical – bonding agent. Here’s a tried-and-true grout recipe that can be used with any mix:
- Blend together:
- The same ratio of cement and pozzolan you used in your concrete
- The same % of pigment to cementitious materials you used in your concrete
- Add bonding agent diluted with water, until the mixture is the consistency of peanut butter
- Spread on with your (gloved) hands or a plastic spatula. See Grouting Procedure below for more information.
- Adjust the consistency by adding more bonding agent or more dry mix as needed
In order for this to work, you need to know the amount of cement and pozzolan in your mix. If you are using Integrity Concrete Products, here is a simple recipe:
- Blend together:
- 500 grams of Portland cement and 175 grams of Integrity Ultra Adpack
- The same % of pigment to cementitious materials you used in your concrete.
- Add bonding agent diluted with water, until the mixture is the consistency of peanut butter
- Spread on with your (gloved) hands or a plastic spatula. See Grouting Procedure below for more information.
- Adjust the consistency by adding more bonding agent or more dry mix as needed
Bonding agent is essentially glue. Without it, the very thin layer of grout you spread onto the concrete is prone to drying out and therefore not curing properly, and worse, likely to flake off the concrete. Bonding agent will make that thin layer of grout stick to the concrete and stay there.
Various types of bonding agents will work. Acrylic additives such as Acryl 60 or are excellent bonding agents. GFRC polymer can also be used. It is mainly a curing agent, but it also functions as a bonding agent.
The amount you should dilute liquid bonding agents with water depends on the bonding agent. Some off-the-shelf acrylic admixtures are already dilute enough to use straight, others will need even more dilution.
The end consistency of the diluted bonding agent should be similar to whole milk. For example, before I started using GFRC, I used Acryl 60 in my grout, and I found that diluting it 1:1 with water yielded excellent results. After I started making GFRC, I used my GFRC curing polymer in my grout. Since it has a higher solids content (51% in my case), I needed to dilute it more. A 2-parts-water to 1-part-GFRC curing polymer worked very well. Precision isn’t critical, but using too much water can cause the grout to flake off.
You may be thinking that I usually advocate extreme precision in mixes, keeping your water-cement ratio low, and never adding water to make a mix more fluid but using superplasticizer instead. I do. And in fact, you could use superplasticizer to make your grout more fluid, instead of adding more bonding agent diluted with water. You could also use accelerator to accelerate the curing rate. Grout is a kind of concrete, after all.
But grout is filling only small holes that do not affect the structural performance of the concrete. As long as it sticks and you are able to hone it off in a reasonable amount of time, it’s fine.
Grouting Procedure
The grouting procedure differs depending upon whether the concrete has a cement-cream finish or if it has been honed or ground to expose the sand-grains or larger aggregate.
- Use a food processor to premix all of the dry grout you will need to the entire project using the grout formula above. Store the dry grout in a labeled, air tight and moisture-proof container.
- Dilute your bonding agent with water until it is the consistency of whole milk.
- Wet-mix a small amount (about 1 cup) of grout at a time. Add just enough diluted bonding agent to make a paste that has the consistency of peanut butter. Stiffer is better, since it’s easier to work a stiff grout mix into the small holes.
- Mist or spray water onto the concrete with a spray bottle. Remember that wet or very moist concrete will cause the grout to turn to a liquid, possibly diluting the grout and causing shrinkage. Do not let water collect in the air voids.
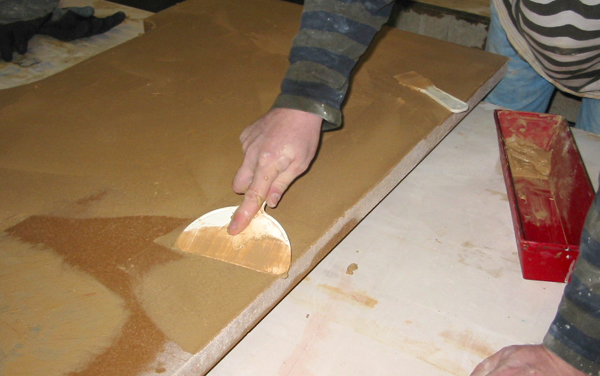
- Spread the grout paste onto the entire surface of the slightly damp concrete. Do not apply grout to individual pinholes. It’s important not to spot-grout but to grout the entire surface of the slab. If spot grouting is done, dark grout “shadows” or spots will be visible after sealing.
- Work the grout with your fingers (wear rubber gloves), plastic putty knife or rubber float. Force the grout into the holes, but make sure you scrape away any excess from the concrete; this way you can check to be sure all the holes are filled.
- Deep or large holes might require mounding excess grout over them to counteract shrinkage. You can mix sand into the grout when filling larger voids. This helps make the filled-in void look more like the surrounding concrete. More on this later.
For ground or honed surfaces: You can leave a thick film of grout on the surface, because you will later use a diamond polisher to hone it off.
For cream finishes: Do not leave any buildup or residue on the surface. There should only be a light haze remaining. Physical buildup or residue that hardens will be difficult to sand off, and aggressive sanding will likely cut through the fragile cement cream layer, ruining the finish.
- Let the grout air dry 4-6 hours or overnight (if using Portland cement). The hardened grout should be well bonded to the concrete and not be soft or crumbly.
- Hone off the hardened grout.
For ground or honed surfaces: Using a 200 to 400 grit resin bond disc, hone the excess grout off the concrete. The goal is to remove all the excess grout and to smooth the surface, not to remove any more concrete. Removing more concrete will open up new pinholes and voids.
For cream finishes: Use 400 grit wet/dry sandpaper and lightly hand sand to remove the grout haze, being very careful not to cut into the cream layer. Do not use diamonds, either a hand pad or a diamond polisher.
- If there are any holes remaining, repeat the grouting process.
Grouting Considerations
Timing
One issue I find with Portland cement based grouts is that they take too long to achieve enough strength and hardness to allow me to hone them off quickly without tearing out or eroding. Grout that is too soft will not mill flat. Depending on temperature, you may have to leave Portland grout on for 4-6 hours or even overnight.
The solution is to use rapid setting CSA cement in your grout. This allows you to hone off the grout within 1 to 2 hours. (Remember, no pozzolan is necessary when you use CSA cement.)
Color
Be aware that if you’ve used Portland cement in your concrete, the color of your grout may differ because the color of CSA cement differs. Regardless of your cement, the color of your grout will be at least slightly different from the color of your concrete because there is no sand in it. The visual difference will be even greater if you’ve exposed sand grains or aggregate in your concrete surface.
Don’t Spot Grout!
An important rule of grouting is that it is best to grout the entire surface, not to spot grout. If you smear a large circle of grout around a pinhole, let it cure, then hone it off, the appearance of the entire circle, not just the pinhole, may be changed. In the case of a single pinhole, try to apply the grout to as small an area as possible.
The appearance change happens for the same reason that leaving a can of soda or any object on top of a slab overnight causes a dark mark: You’ve changed the moisture level in that area, which causes the concrete to cure differently in that area. That mark is permanent.
Sealer
There is a misconception that concrete countertop sealers can fill pinholes in concrete. This is almost never the case, even with coating sealers such as epoxies or high performance professional urethanes such as Omega Concrete Countertop Sealer. You must grout pinholes before sealing. Sealing will often make pinholes much more apparent, and once the surface is sealed, you can’t go back and grout the pinholes.
Filling Larger Holes in Concrete
Larger holes in concrete formed by air bubbles are called “bugholes”. But whatever they’re called, sometimes you may need to fill larger holes with grout.
If your concrete surface has exposed sand grains, the appearance of the grout will be too different from the appearance of the concrete. The grout will be perfectly uniform in color, whereas the concrete will be speckled with sand grains.
The solution is simple: Add sand to your grout. You wouldn’t use sand for smaller pinholes because it would make it too difficult to get the grout into the small holes, but for larger holes, sand will make them easier to fill and closer to the appearance of the surrounding concrete.
However, if you find that you are having issues with large holes in your concrete when you were trying to achieve a uniform look, you need to evaluate your mix and casting methods to determine the root cause of the problem.
Voids in Concrete as a Design Feature
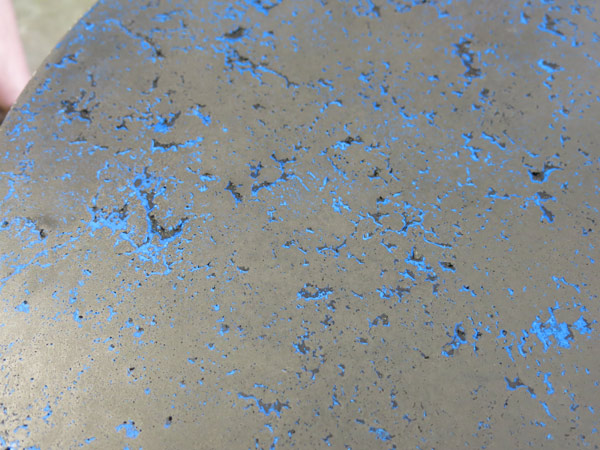
In some cases, large voids are not a problem, but a deliberate design choice. In this technique, you are not trying to match the surface appearance of the concrete in order to hide the voids, you are accenting them on purpose.
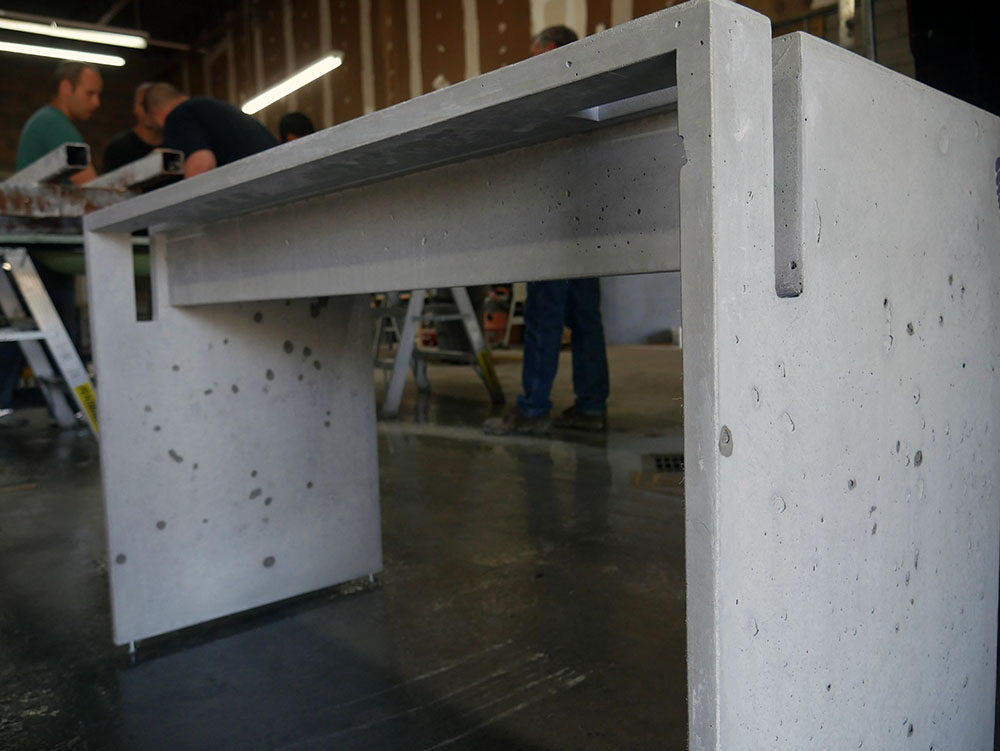
Sometimes voids are left in concrete as a design feature. For example, this desk was deliberately cast without vibration so that surface air bubbles would cause bugholes.
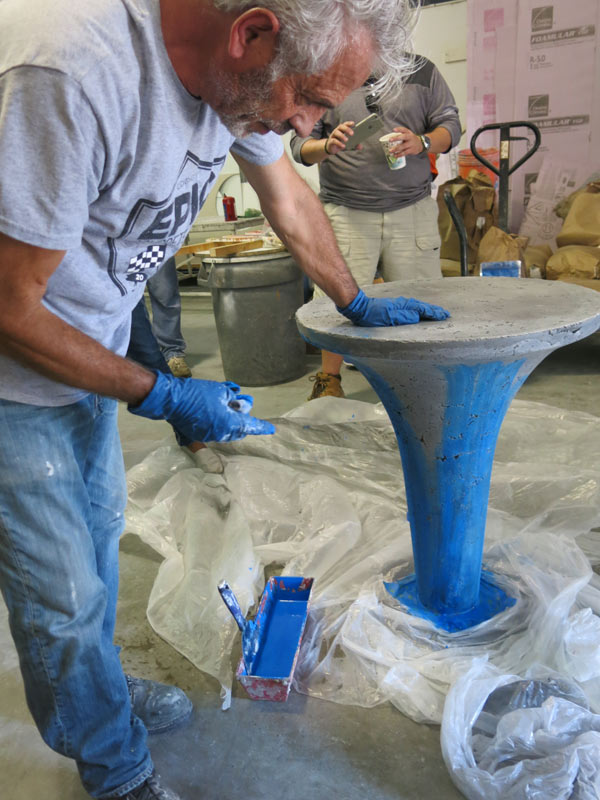
Sometimes large voids are deliberately crafted and filled in with contrasting colors of grout. Buddy Rhodes is a master of this technique. Here is a concrete bistro table he created in one of our classes.
SPECIAL ANNOUNCEMENT: Buddy will join us May 8-9, 2023 to teach exactly this technique during our class LEGENDS OF ROCK: The concrete concert of the century!
More Information about Concrete Troubleshooting
For more information about various other problems that could occur with a concrete countertop mix, see this article.

